

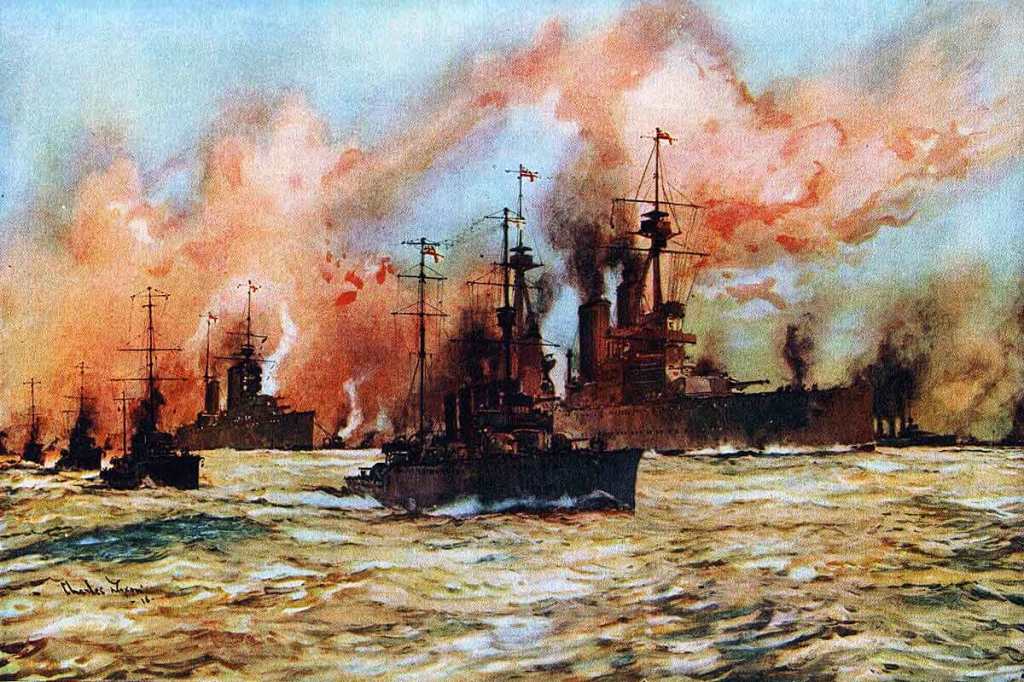
On January 24, 1915, a battle took place near Dogger Bank between Franz von Hipper’s German squadron and David Beatty’s British battlecruisers. The clash resulted in the sinking of a German armored cruiser, while the British suffered few casualties. This was the first time the most prized assets of the German and British navies—the battlecruisers—met at sea. However, the British mostly remember this engagement as a missed opportunity. This is the story of the Battle of Dogger Bank.
On January 24, 1915, Admiral Franz von Hipper was ordered by Admiral Friedrich von Ingenohl to set sail with three battlecruisers and one armored cruiser. Their mission was to conduct reconnaissance near the shoals of Dogger Bank and, if possible, launch a surprise attack on the English east coast, as they had done just over a month earlier. The High Seas Fleet’s order of battle included the battlecruisers Seydlitz, Moltke, and Derfflinger, along with the armored cruiser Blücher, supported by a screen of four light cruisers and 18 torpedo boats.
Meanwhile, at Whitehall, Room 40 had successfully intercepted the German orders and determined the exact strength of the enemy force, their operating area, and the timing of their departure and arrival. Consequently, the Admiralty War Staff was able to time an interception perfectly, positioning their own ships about 30 miles north of Dogger Bank.
Beatty’s force consisted of five battlecruisers: HMS Lion, Tiger, Princess Royal, New Zealand, and Indomitable, with the latter two forming the newly established 2nd Battlecruiser Squadron under Admiral Moore. This force was screened by the Harwich Force, commanded by Commodore Tyrwhitt, which included three light cruisers and 35 destroyers.
January 24 was a clear day with calm waters. At 7:20 a.m., HMS Aurora of the Harwich Force spotted smoke on the horizon. As she approached to investigate, she realized it was a German vessel from Hipper’s reconnaissance force. A brief engagement followed between the two light cruisers.
Over an hour later, at 8:40 a.m., the battlecruisers caught sight of each other. Hipper, completely surprised by the British presence, immediately turned for home. The Germans were at a disadvantage, as they had to limit their speed to Blücher’s 23 knots, while Beatty’s force—composed entirely of battlecruisers—could exceed 25 knots. Slowly overhauling the German squadron, Beatty opened fire just before 9:00 a.m. with his flagship, HMS Lion. Blücher, the last ship in the German line, bore the brunt of the British broadsides. As Lion advanced, she soon shifted her attention to the next German ships in line, while HMS Tiger and Princess Royal took over the attack on the slow-moving Blücher. Before long, Beatty’s column was able to engage all the German ships. However, a miscommunication led to Tiger and Lion both targeting the leading German vessel, Derfflinger, leaving Moltke unopposed.
On the German side, fire was concentrated on Lion, which took a heavy battering. Seventeen shells struck the British flagship, but her belt armor—up to nine inches thick—proved highly effective against the German shells, preventing any from piercing her hull. The same was true for HMS Tiger, which successfully withstood six German hits thanks to her belt armor.
The German battlecruisers also sustained damage, particularly Hipper’s flagship, Seydlitz. At 9:50 a.m., a devastating shell from HMS Lion struck the ship’s quarterdeck and penetrated the barbette of the aft turret. This triggered a chain reaction of exploding cordite propellant charges, causing a fire that spread to the adjoining turret through an open hatch. The explosion killed everyone in its path and effectively disabled half of the battlecruiser’s main guns. Fortunately for the Germans, the magazines were flooded in time, preventing the ship from sinking.
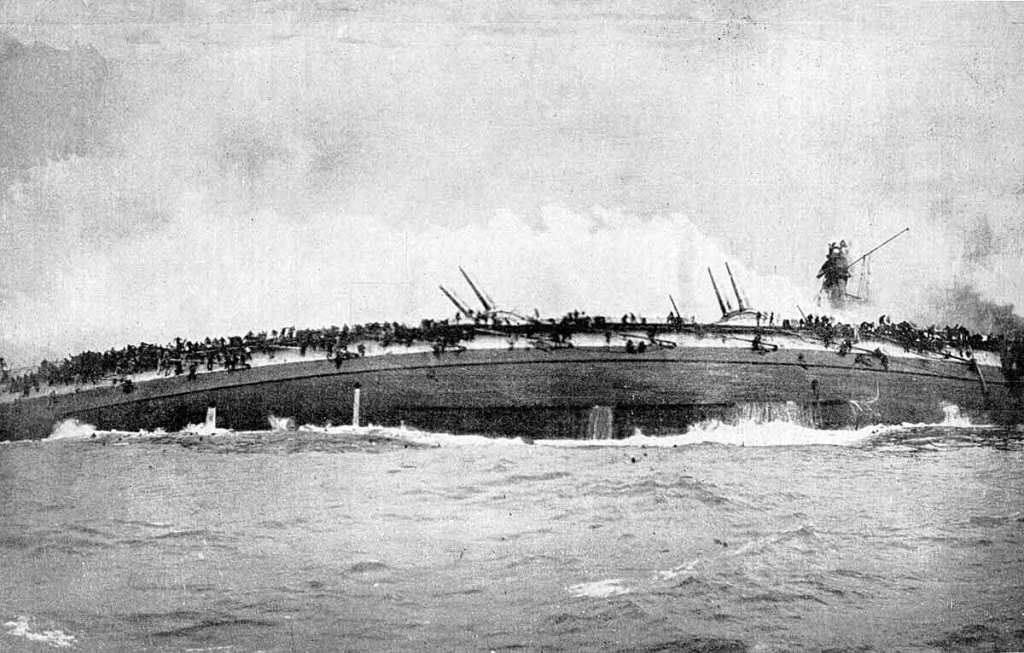
The immense barrage on HMS Lion displaced some armor plates, causing flooding in the boiler feed tanks. As a result, Lion’s engines failed around 11:00 a.m. Beatty signaled for the rest of his force to continue the pursuit, but a miscommunication led the battlecruisers to halt their advance instead. With the pursuit abandoned, all fire was concentrated on the straggling Blücher, which had been left to its fate by the retreating Hipper. After being struck by two torpedoes, Blücher capsized and sank. Its final moments became the subject of one of the most haunting and memorable photographs of the First World War.
The British newspapers declared the battle a victory. However, the Admiralty was disappointed that the German battlecruisers had been allowed to escape. Admiral Moore, who assumed command after HMS Lion was forced to retreat, faced criticism for his handling of the engagement. British gunnery that day produced mixed results. While hitting Blücher from an impressive distance of 16 kilometers was a remarkable feat, the overall performance of the battlecruisers’ gunnery was underwhelming. This was largely due to poor equipment. Only HMS Tiger was fitted with a gun director, but she failed to use it effectively, as she mistakenly identified Lion’s shell splashes as her own and consequently overestimated the enemy’s range. Additionally, the Dreyer fire-control system proved inadequate. HMS Queen Mary, which was absent that day, was equipped with the far superior Argo fire-control system, which might have significantly improved British accuracy.
On the German side, significant changes were made. Admiral von Ingenohl lost his command, and the High Seas Fleet was restricted from sailing more than 120 miles (193 km) from Heligoland. The era of German shore bombardments was effectively over. The damage aboard Seydlitz also prompted the German high command to begin equipping all capital ships with anti-flash equipment. Additionally, a reduction was implemented in the number of cordite charges stored outside the magazines during battle.
Olivier Goossens

Leave a comment